How To Replace A Chevy Cobalt Headlight Bulb
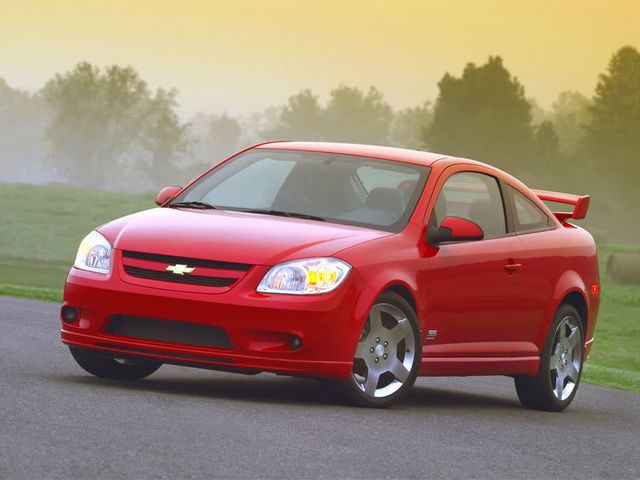
The Chevrolet Cobalt is an efficient, compact car Chevy created to replace the Cavalier and Prizm. It comes in both a sedan and a coupe, and like all vehicles, at some point or another, you are going to need to replace a burned out headlight.
You can save yourself a little money by doing it yourself, and here are the easy instructions.
Tools
- Wrench
- Clean Rag
- 9007 LL halogen headlight bulb
How To:
- Start by setting the parking brake and removing your keys from the ignition.
- Use the hood release latch that can be found under the dash on the driver’s side and open the hood.
- Go to the front of the vehicle, and slide the release latch that is under the hood towards the driver’s side to fully raise the hood.
- Find the headlight and take the bolts off the assembly. Put the bolts aside.
- Take the fasteners off the assembly molding and pull it back.
- Take the headlight assembly out by pulling it slightly at an angle.
- Disconnect the bulb base by lifting the plastic tab on the harness. Disconnect the wiring harness and take the black retainer off with a counterclockwise turn.
- Turn the bulb socket counterclockwise in order to disconnect it. Gently pull the bulb out of the socket.
- Replace the old bulb with your new one, and reverse the steps to reassemble the headlight. Use 89 inch-lb torque to retighten the bolts.
Clean the new headlight, turn the key to “ON” and make sure that you have reconnected everything and your bulb is working.
TIP: If you don't handle the new bulb with your bare hands, you shouldn't have to clean it. Just use a clean pair of gloves, or grab a sandwich bag and use it like a glove when handling the bulb. Not only does this save you a step, but it reduces the odds that some dirt or grime on the bulb's housing will shorten its' life.